
Voice changer. Hello! Playing on GTA 5 RP servers and notice that your voice is getting recognized and you do not know how to fix it? In this article we will tell you about interesting life hacks. You will know about how to change voice and how it works.

Voice changer: where to start?
You need to download 2 applications:
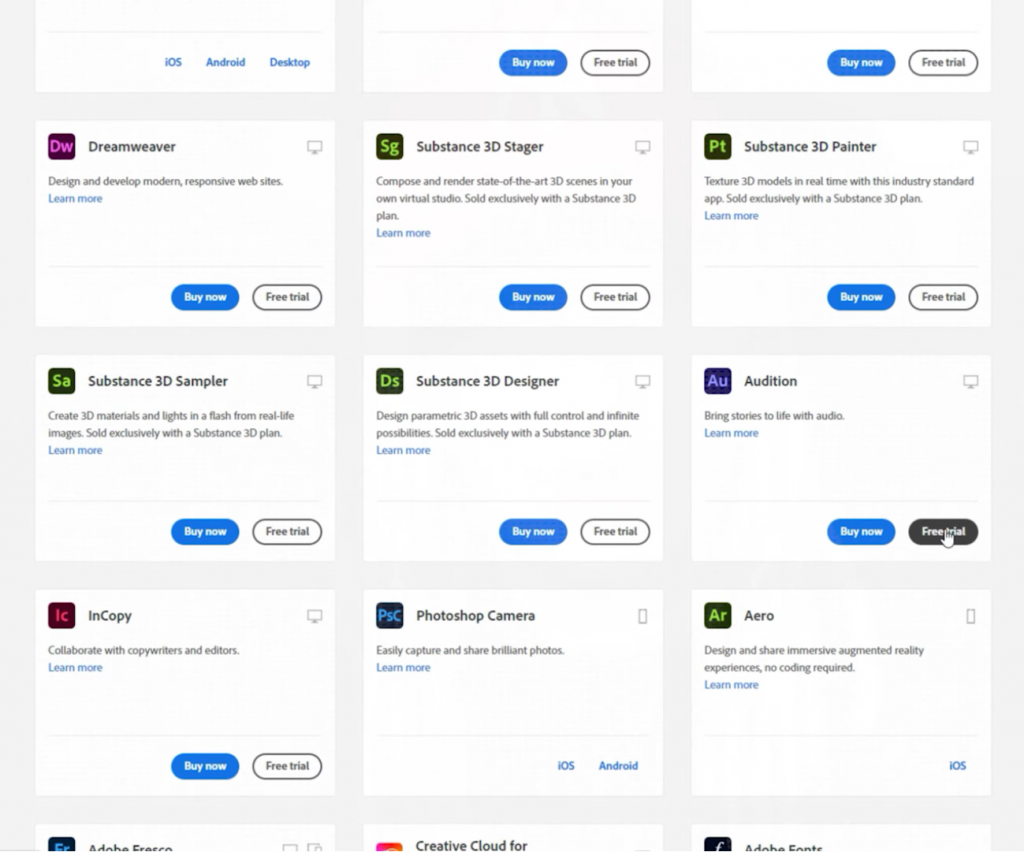
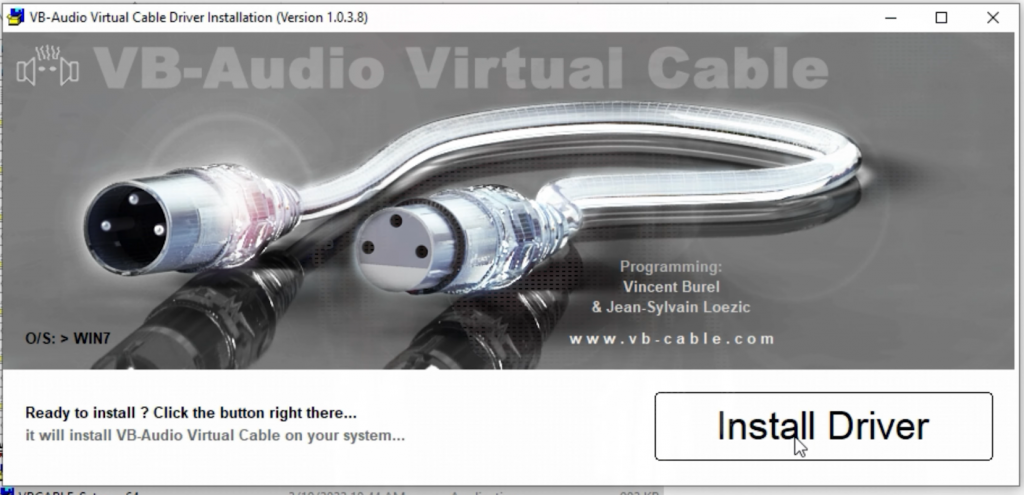
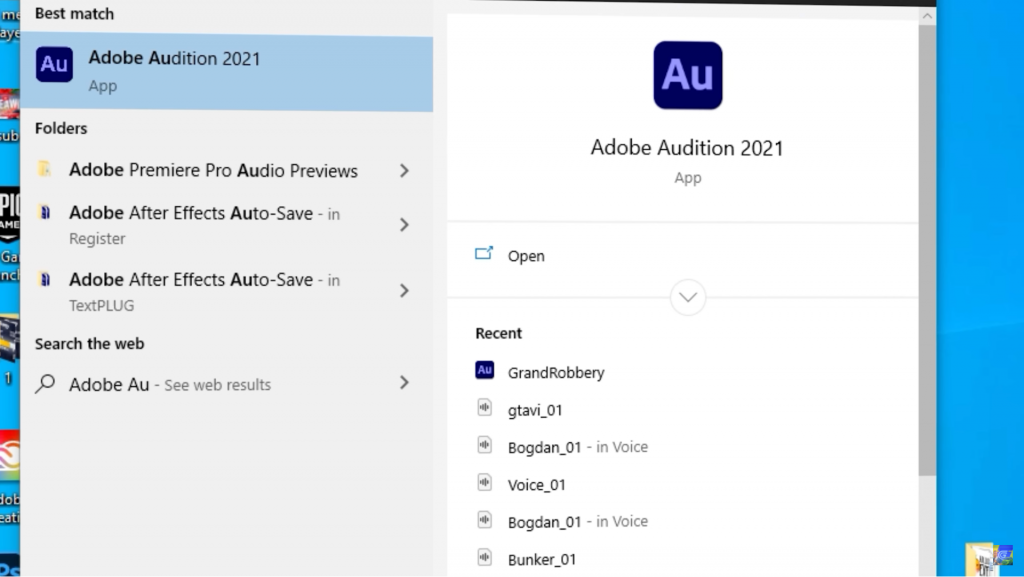
You downloaded both of those programs. First you need to download Adobe audition. After this open downloader of virtual cable as administrator and download it.
This is only the first step of how to use programs for voice changer.
Voice changer: Program downloaded what is next?
First of all, you have to do this:
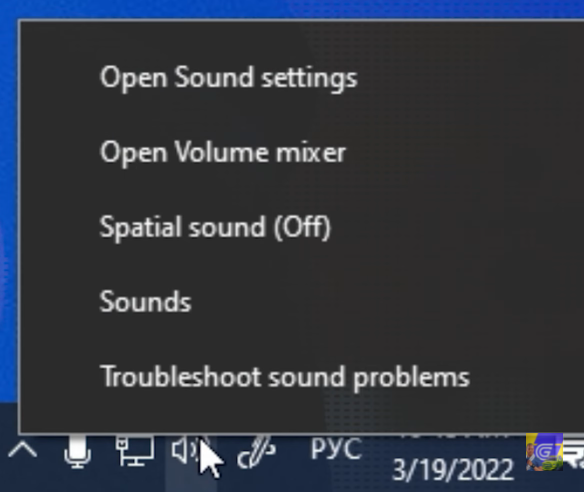
- Press on volume button (in the lower right corner)
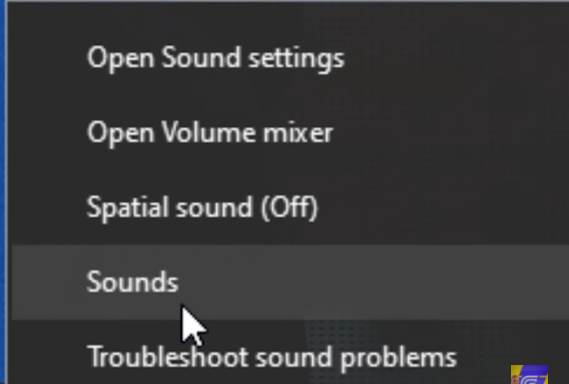
- Open the sounds option
- Go to the record section
- Find your microphone
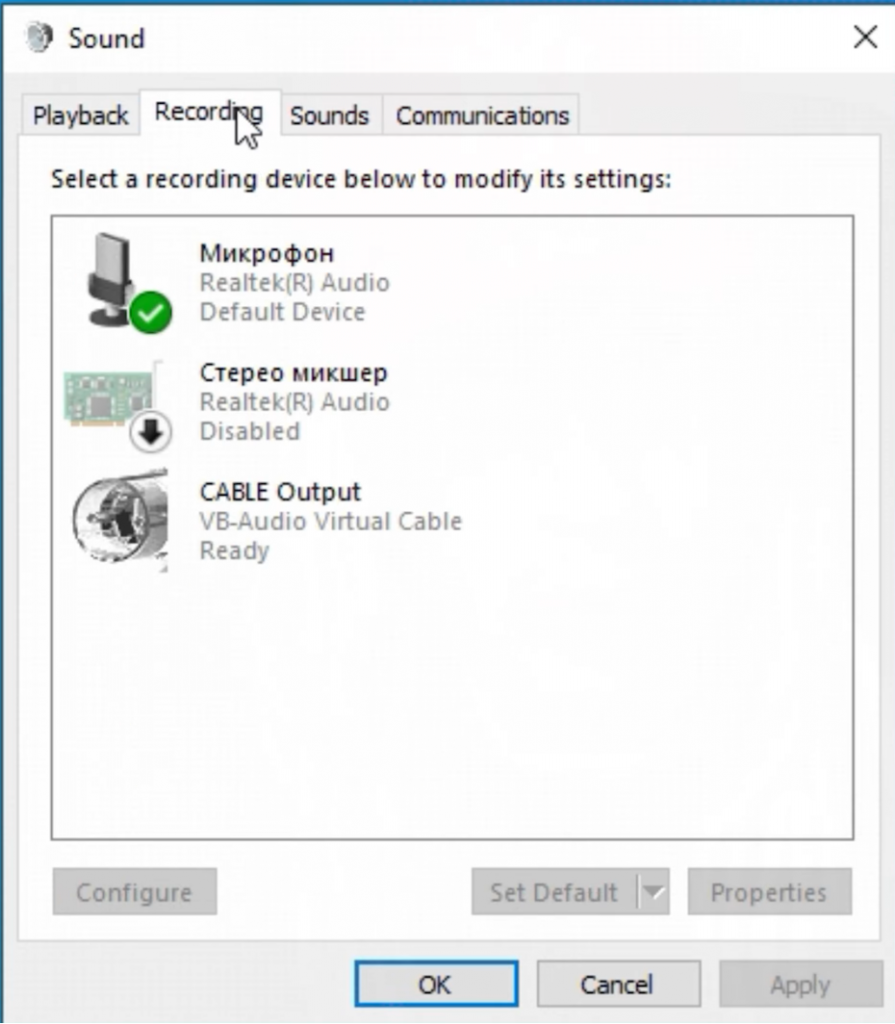
In order to understand if it is your microphone you need to look at the right side of window where you can see horizontal lines. If they appear as green then it is your microphone.
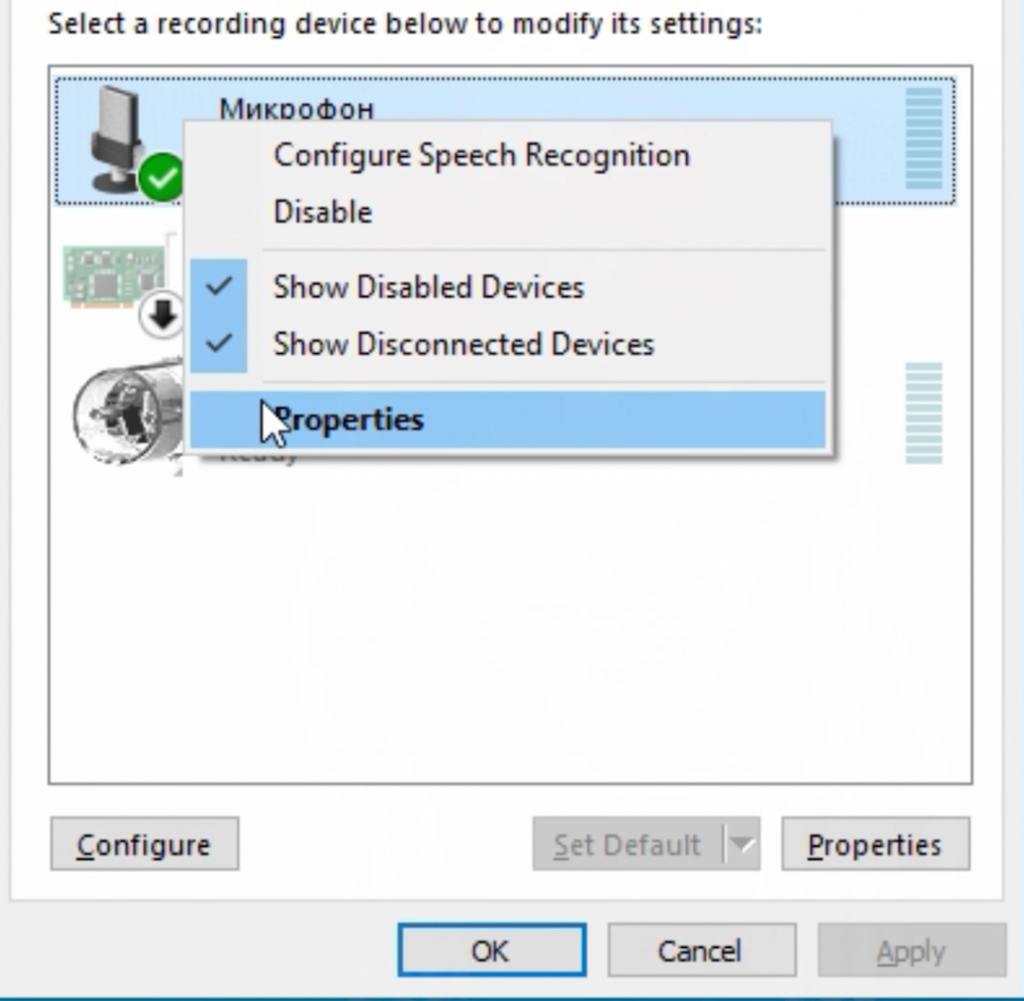
After you found microphone, you need to do this:
- Right click using mouse on microphone
- Press on properties
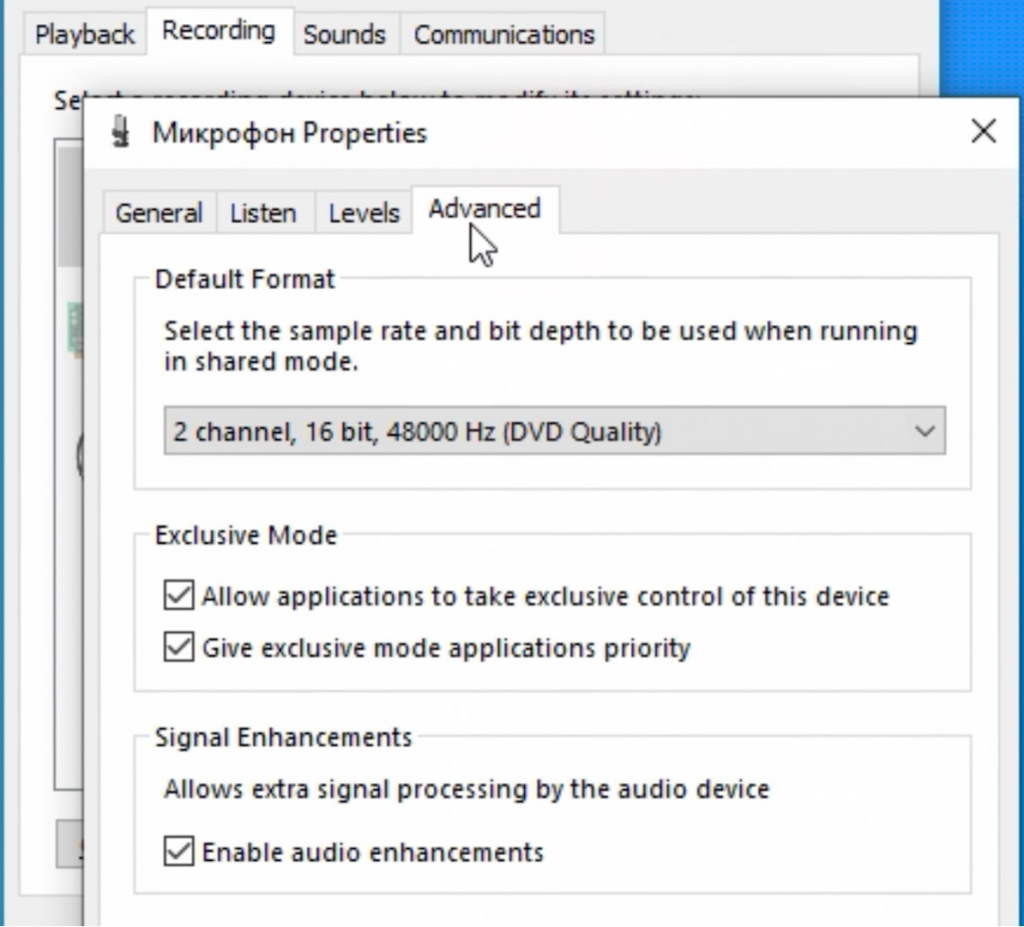
- Go to the advanced section
- In the default format select 1 channel 16 bits, 48000 Hz
- Remove all check boxes if you have them
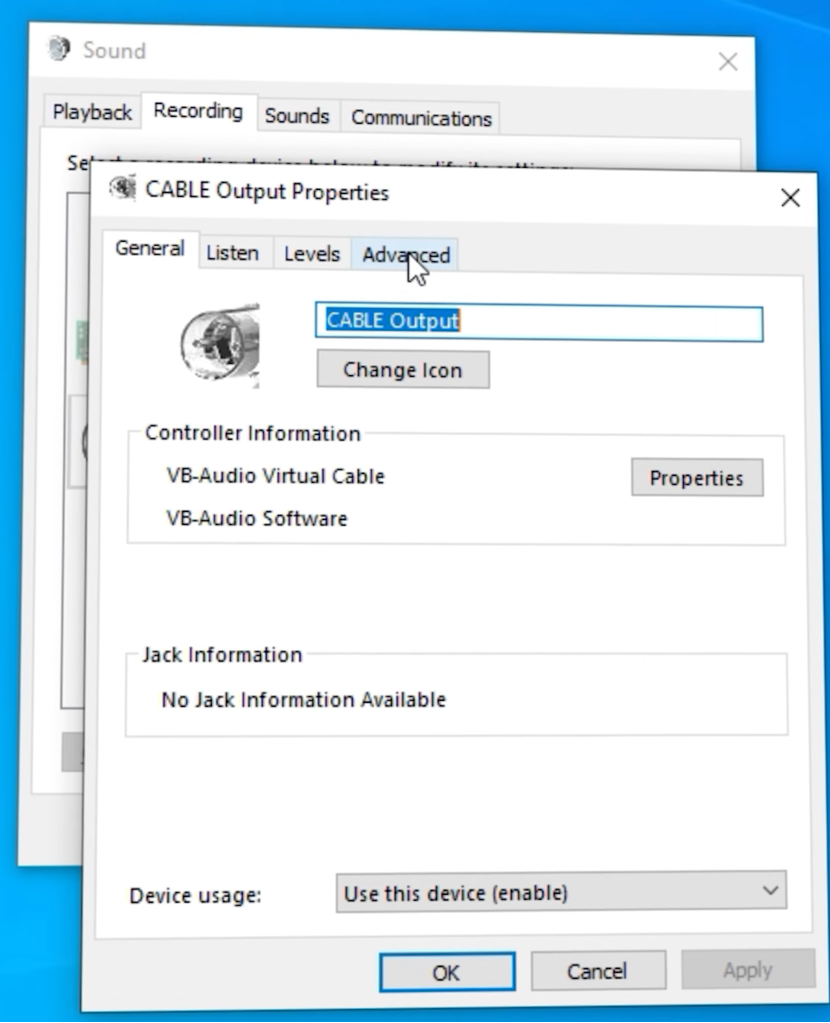
Voice changer: Work with virtual cable.
After you did all steps above you need to start working with audio cable. Before you do anything, you need to:
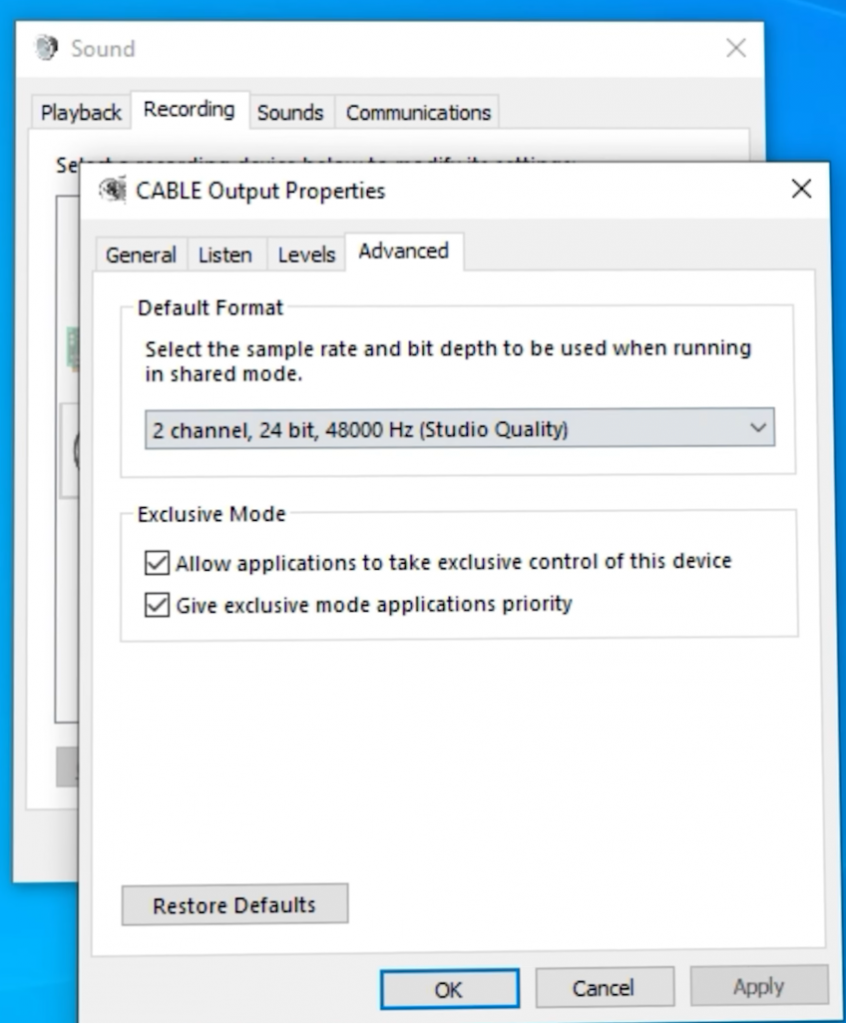
- Return to the record section
- Among the devices select audio cable
- Go to the advanced section
- In the default format select 2ch, 48000 Hz
Overall, you can go to the levels and choose 80 percent. You can always change it.
Change of voice: Job with Adobe Audition.
After you did everything with microphone you can start changing your voice.
- Open Adobe audition
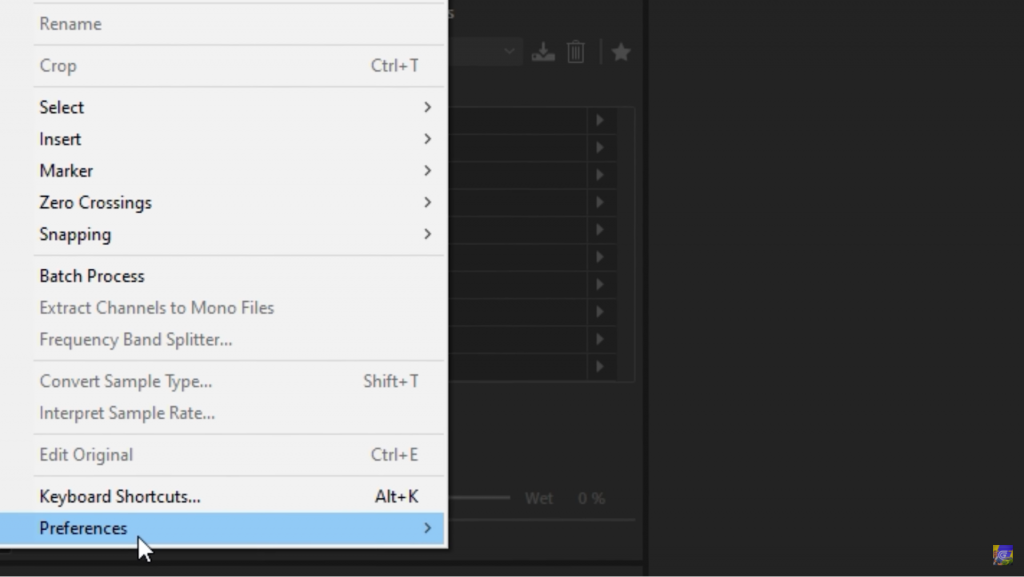
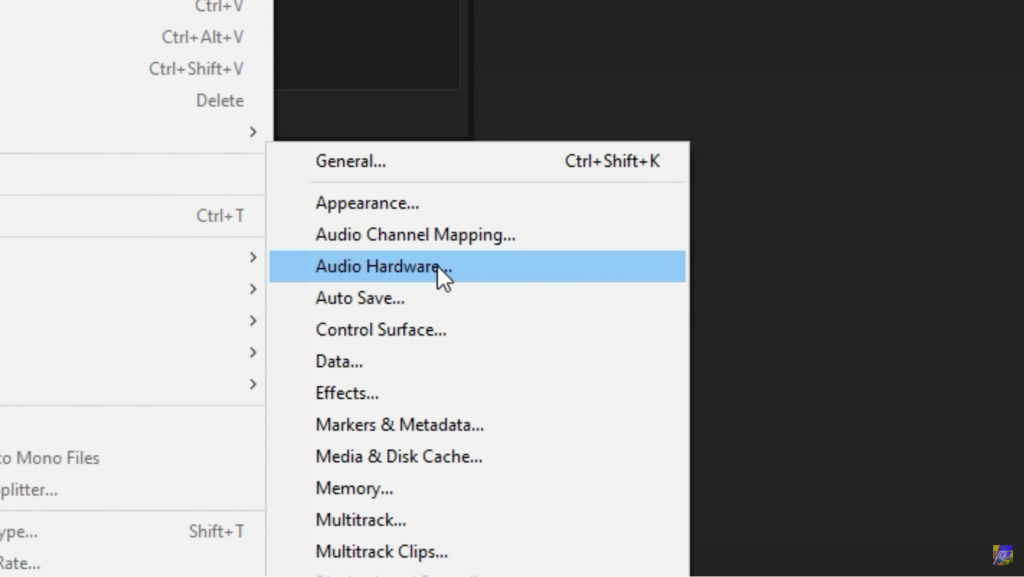
- Press edit-Preferences-audio hardware
- Choose default input option
- Specify your microphone
- In the default output choose headphones parameter.
70 percent of the job is done. Then press on option Multitrack and give name of your pre-set and start to see how you can adjust it.
Now you have to do everything in order to be able to hear voice on recordings. It will be much easier to adjust everything if you can hear yourself. In the first line select Mono and your microphone. After press R and I. Now you can hear yourself.
Change of voice: adding effects.
Let’s start with adaptive noise reduction. To do this in left corner select the effects rack menu clock on the arrow and select noise reduction and adaptive noise reduction. After that you will notice that noises have disappeared from the background. Of course, this will affect your processor performance but to be honest it is no more than 5 percent of the power. It is even less comparing to using a browser.
Settings of your voice.
You have to open Filter and EQ- Parametrick Equalizer. In settings select Loudness Maximizer. After change your voice in Output so you would not hear it too loudly or too quietly.
Now you have to fix your signal so it transfers to virtual cable. In order to do this, you have to:
- Click edit- preferences- audio hardware
- Select virtual cable in output by default.
- In the window that appears select your mono microphone in the input and in the output virtual cable
Setup completed. Save your pre-set by pressing Ctrl +S and choose path. Go into the game and select your virtual cable in the audio so that game does not perceive a normal microphone but a pre-set with all settings.
Congratulations you changed your voice!
Dear friend now you know everything about how to change voice and what programs to use. We have released a new video which you can find on our channel and it will give you more information.